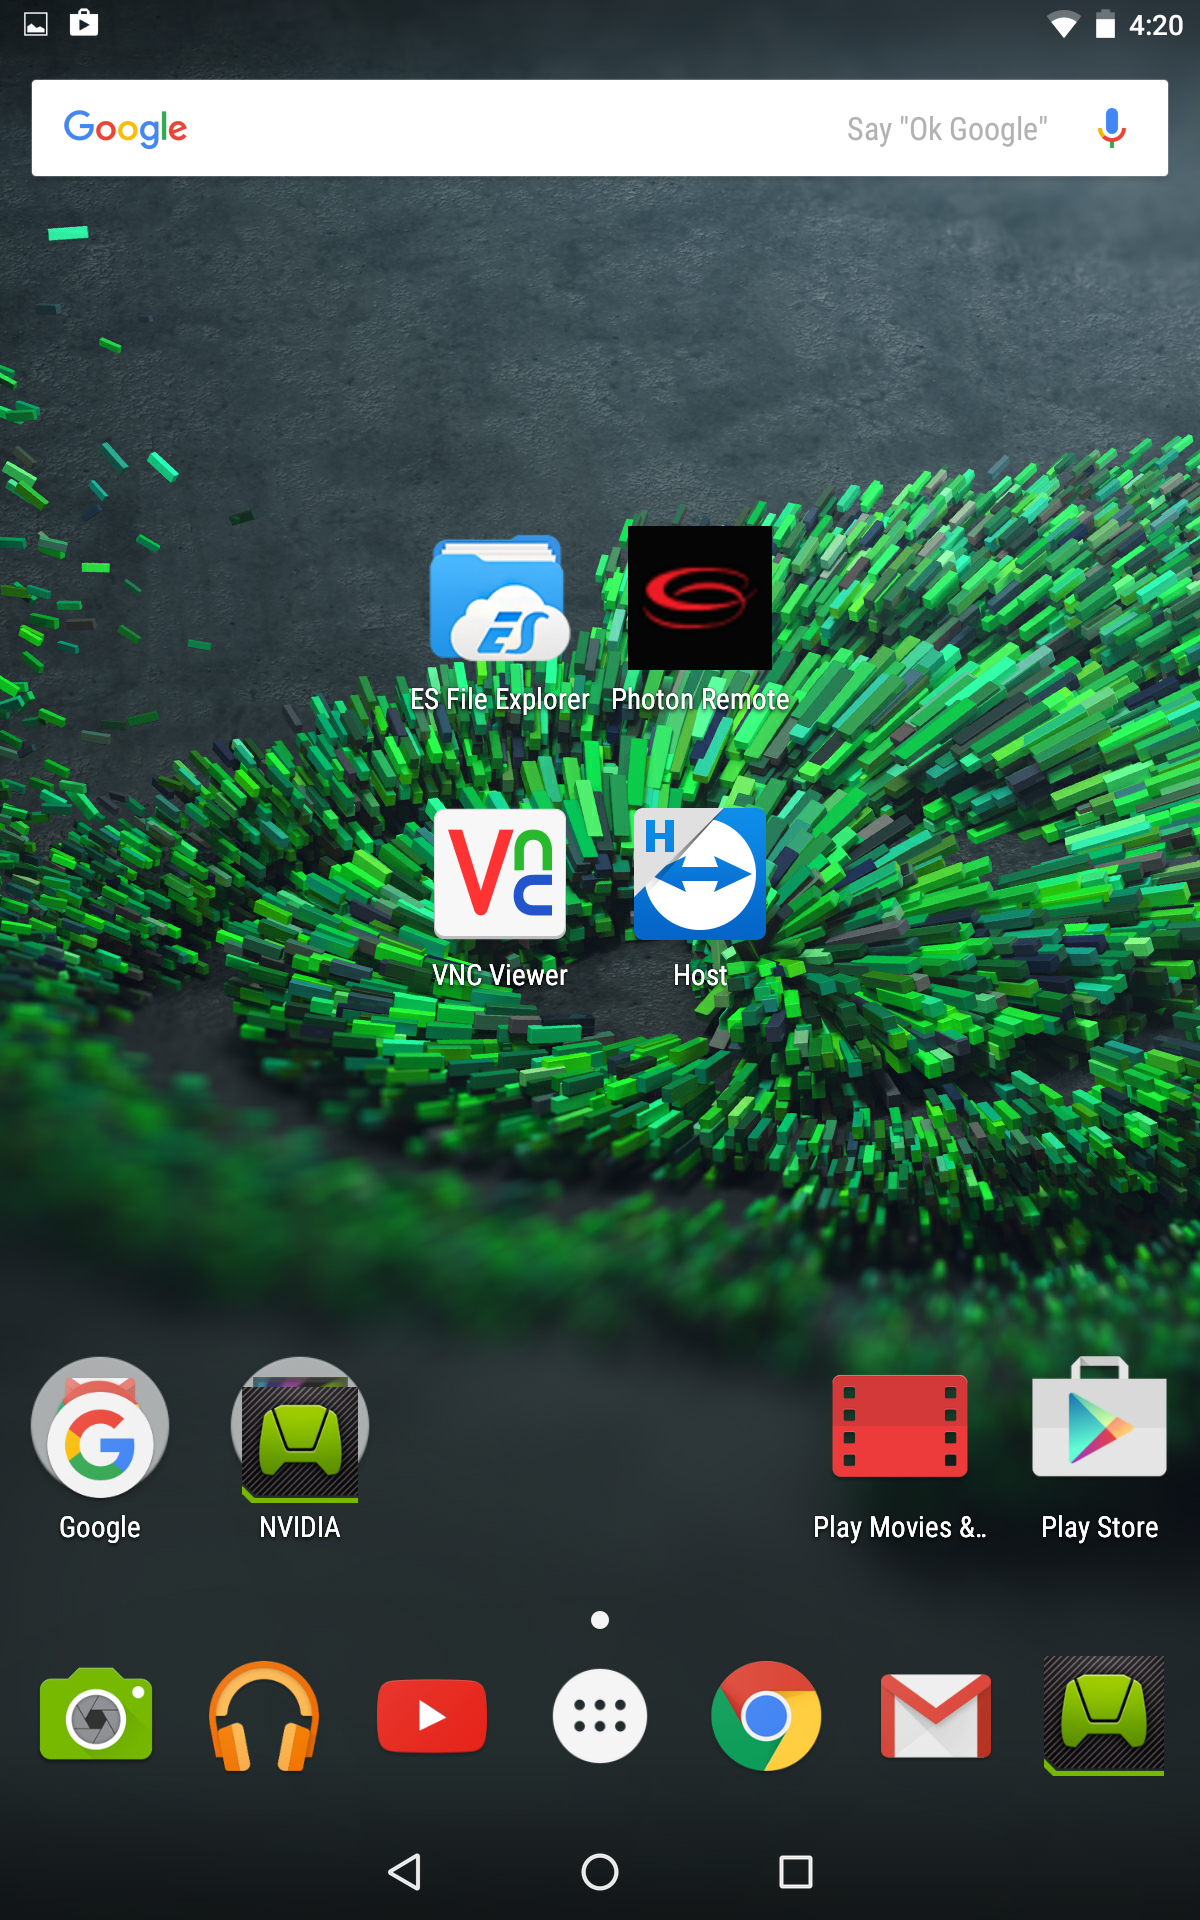
Nvidia Tablet K1
Photon remote installation
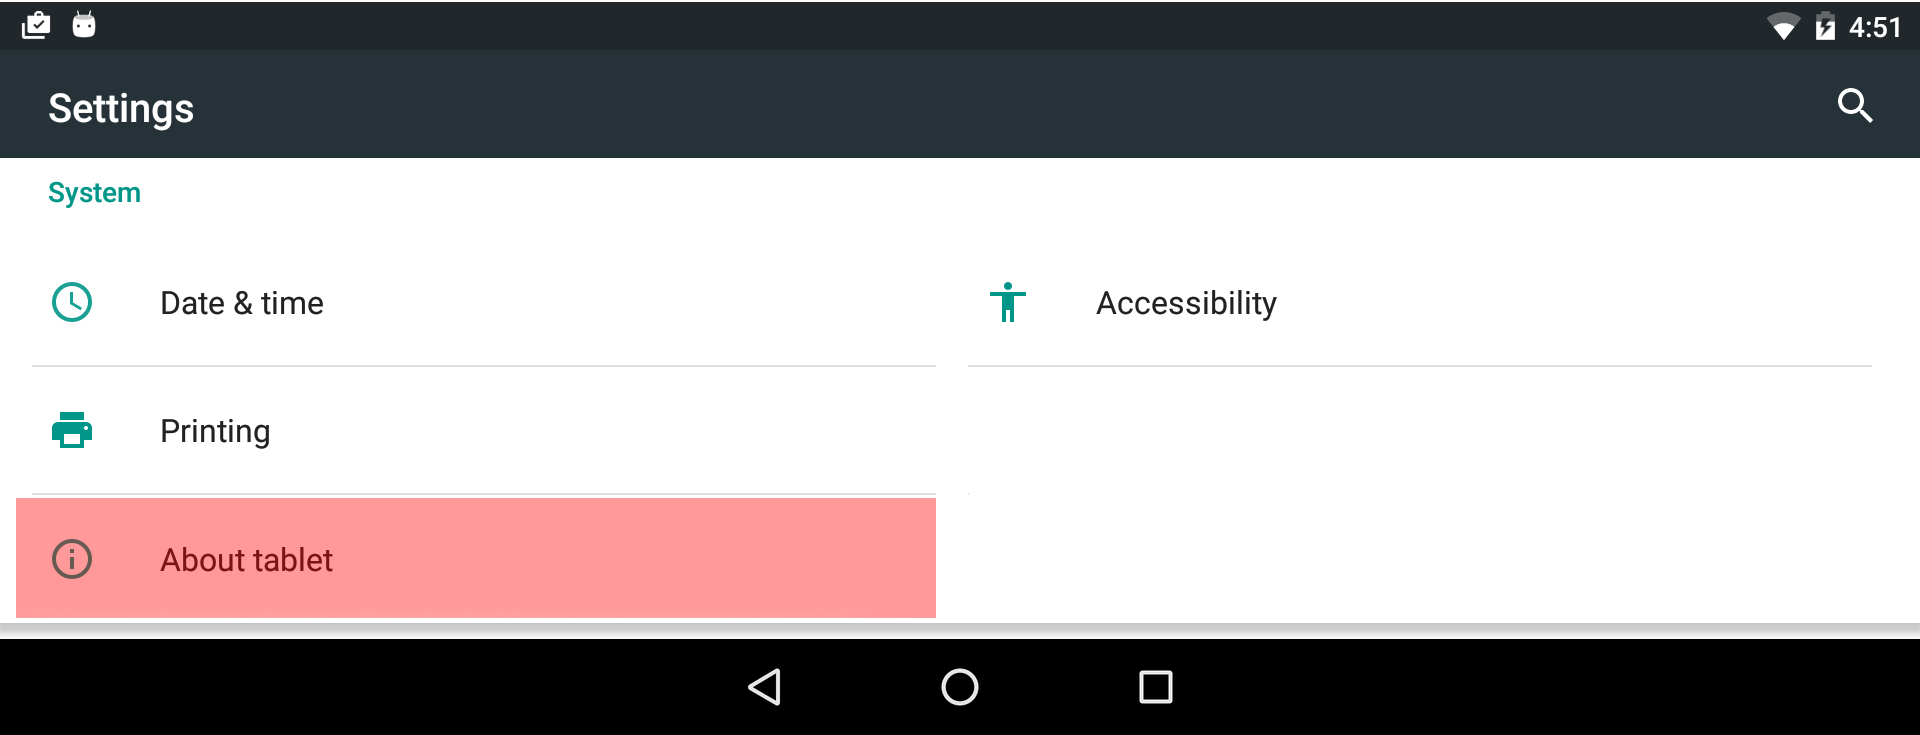
1 - Settings > About Tablet
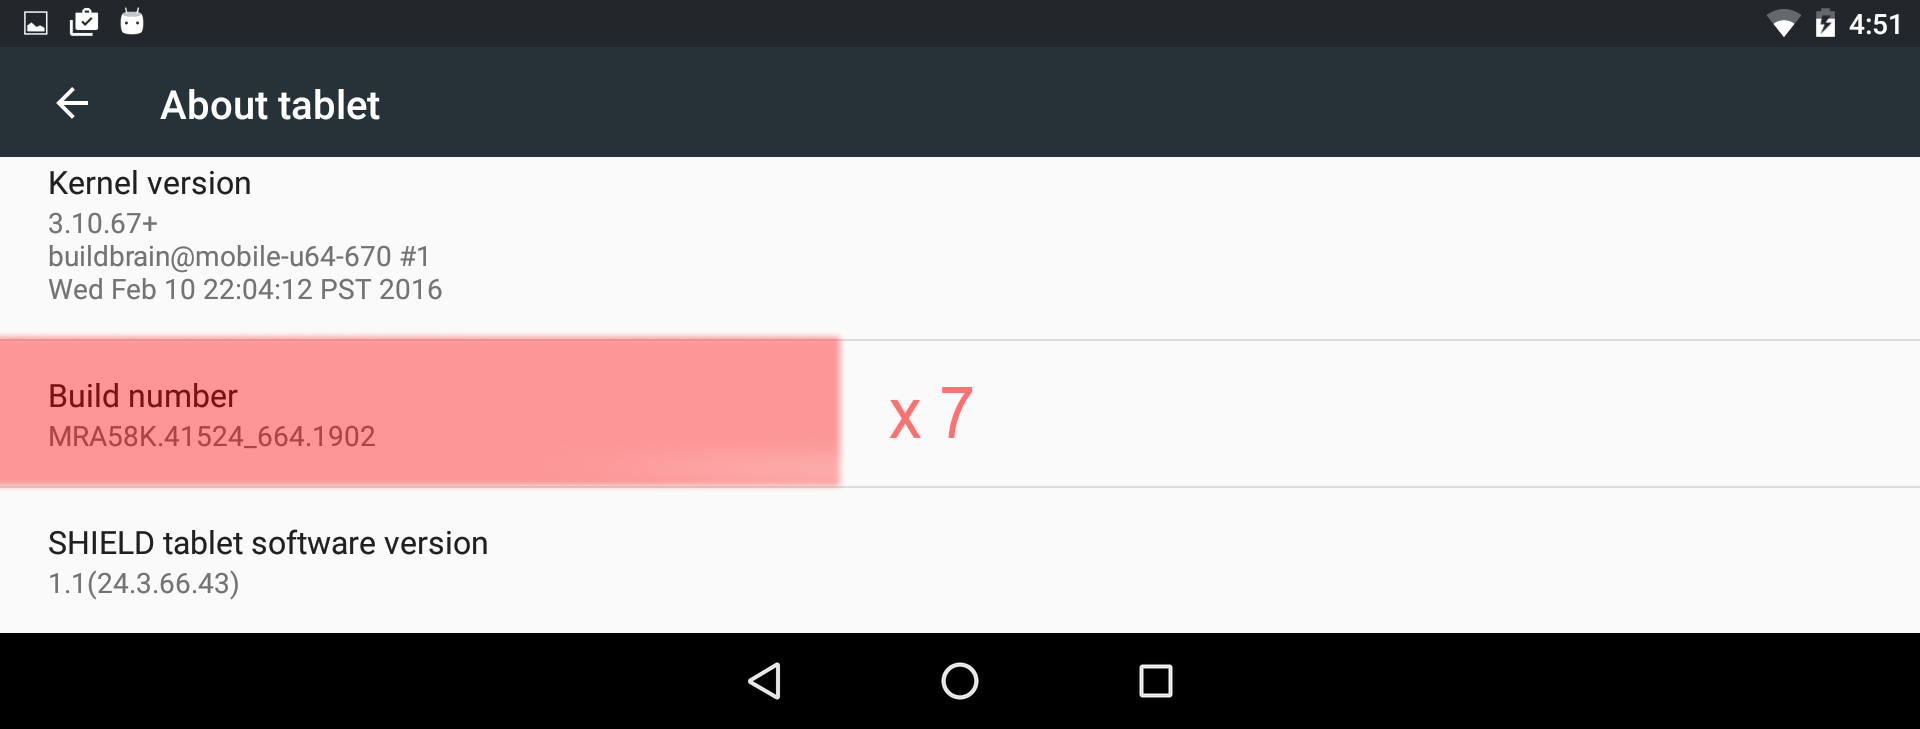
2 - Click 7 times on Build Number (You are now in Developer mode)
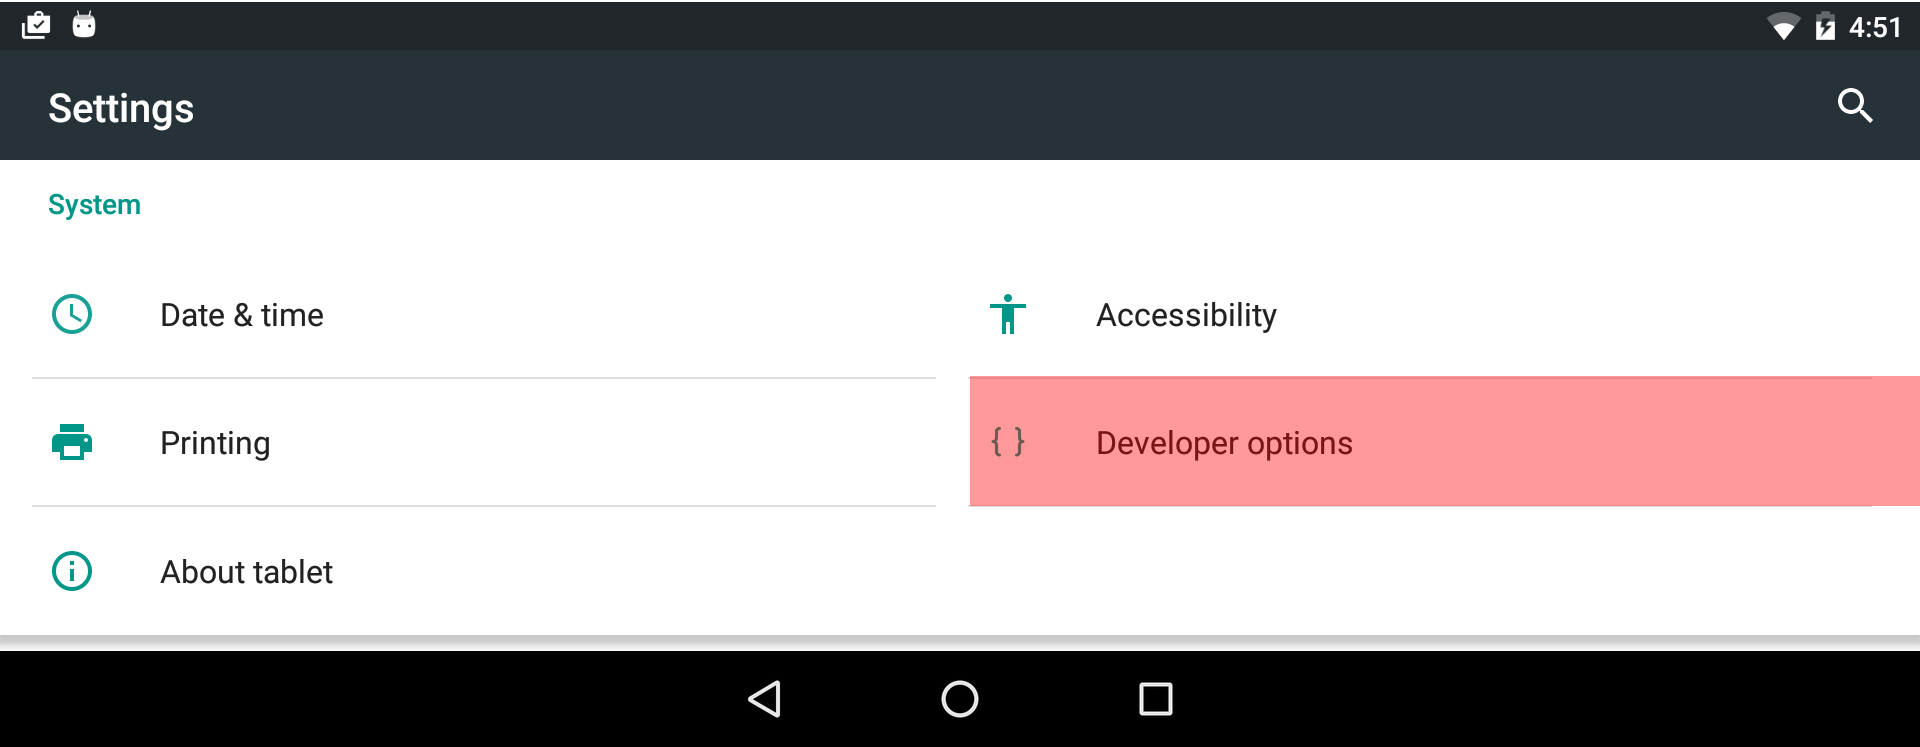
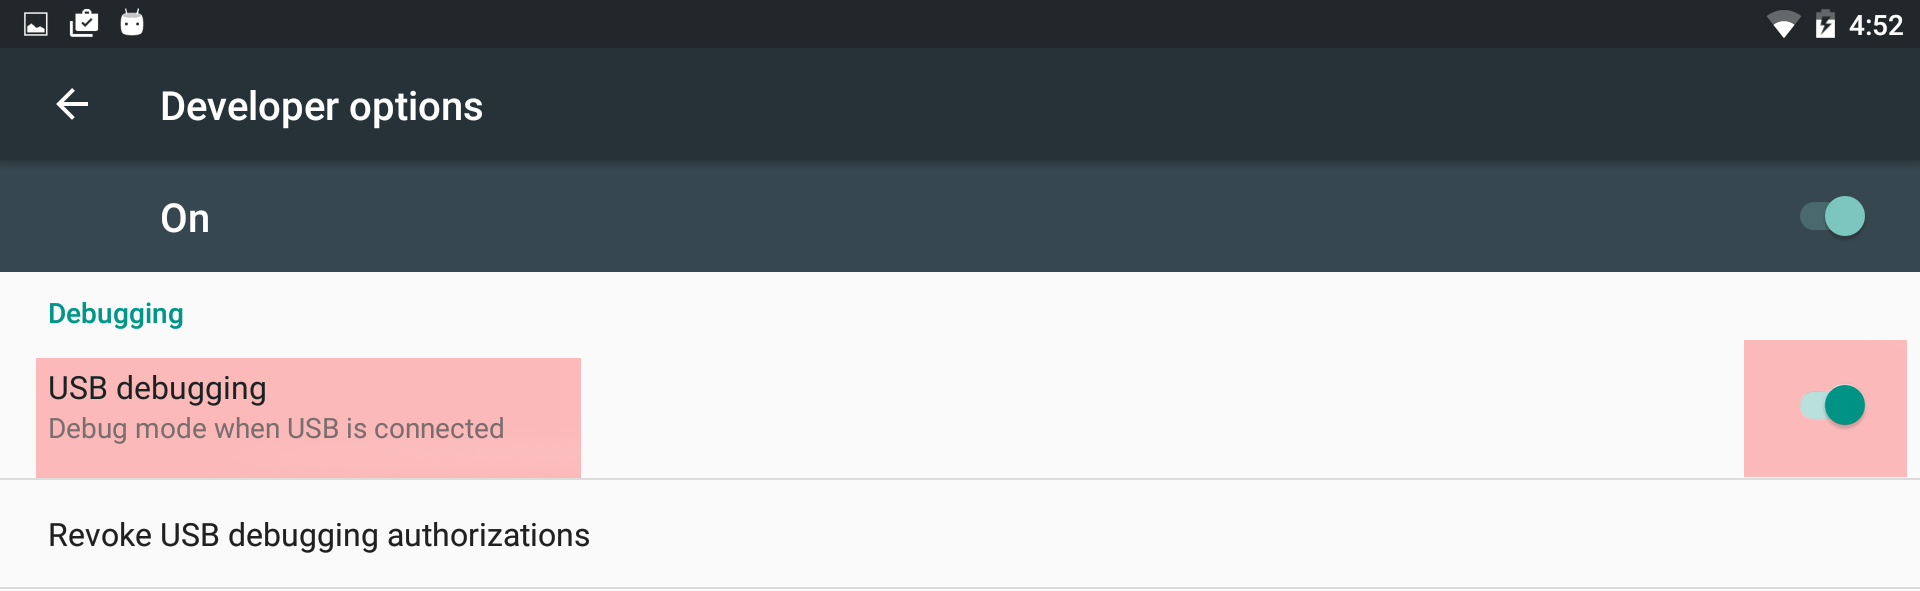
3 - Go back to settings and click on the Developer options menu
4 - Enable USB Debugging (Give you the right to transfer files through USB)
5 - Disable Verify Apps over USB
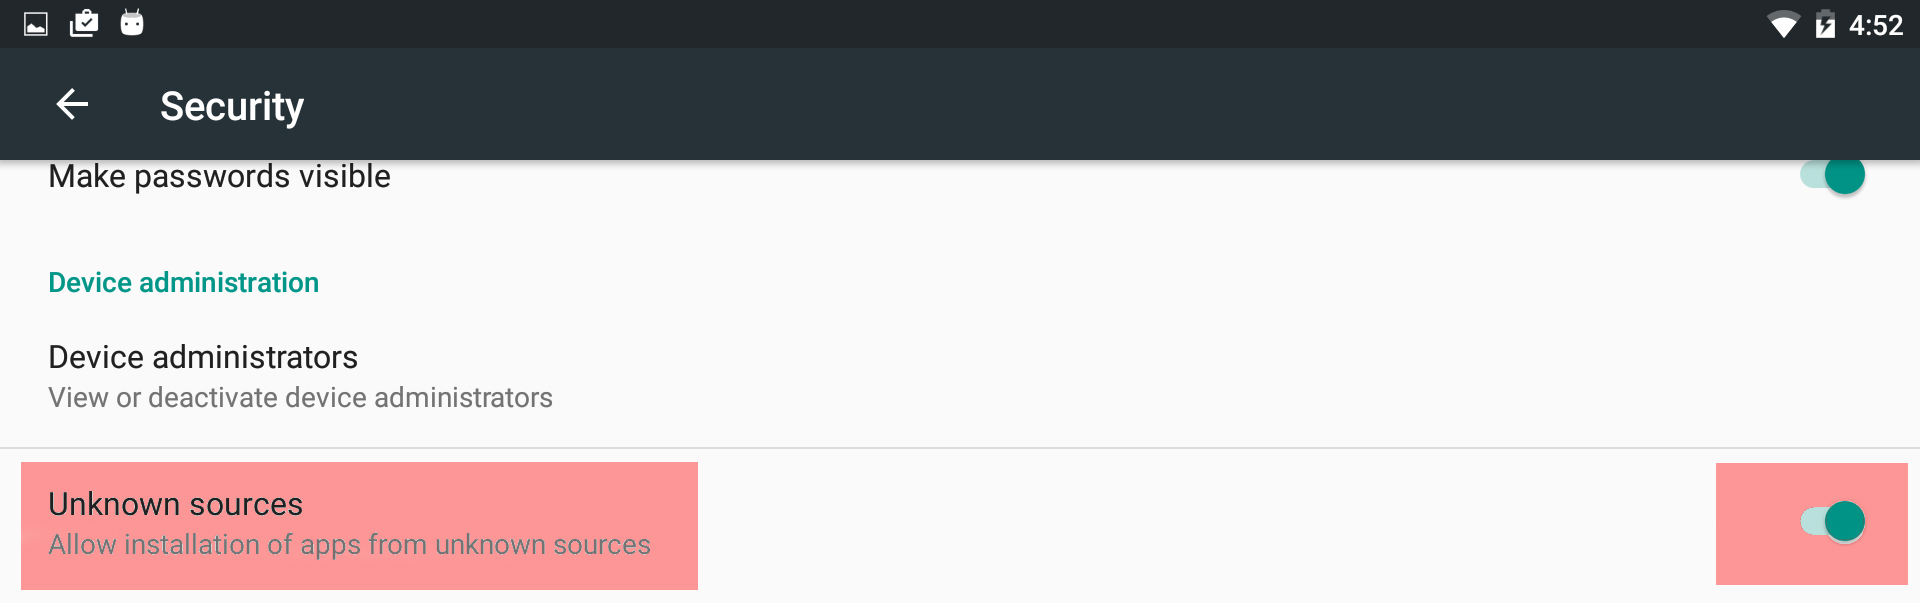
6 - Go back to Settings, then go to Security menu
7 - Enable Unknow sources (otherwise Android will not let you install Photon remote)
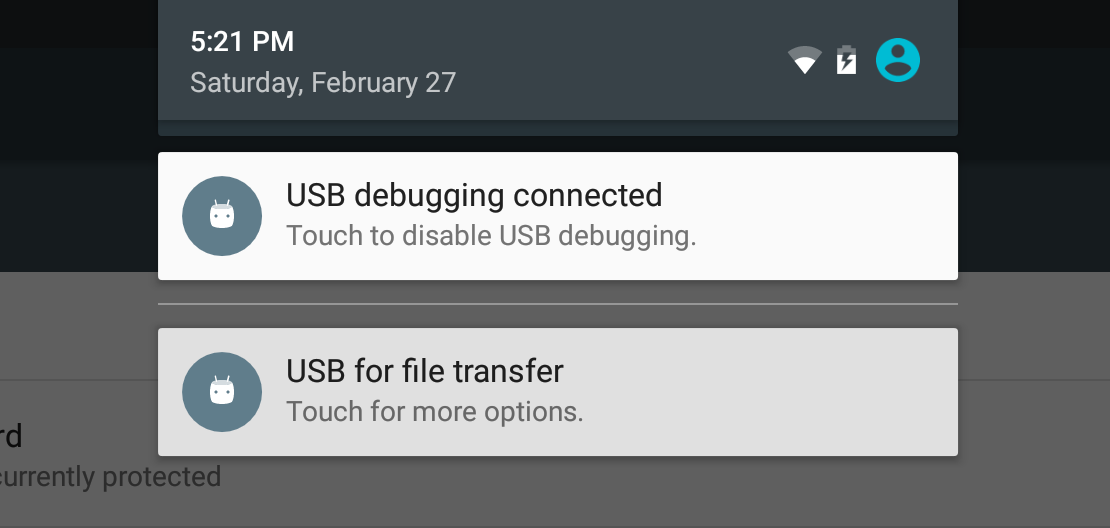
8 - Plug your Tablet to your computer through USB
9 - Choose File transfer USB mode from the tablet (Dropdown menu available with a swipe from the top of the screen)
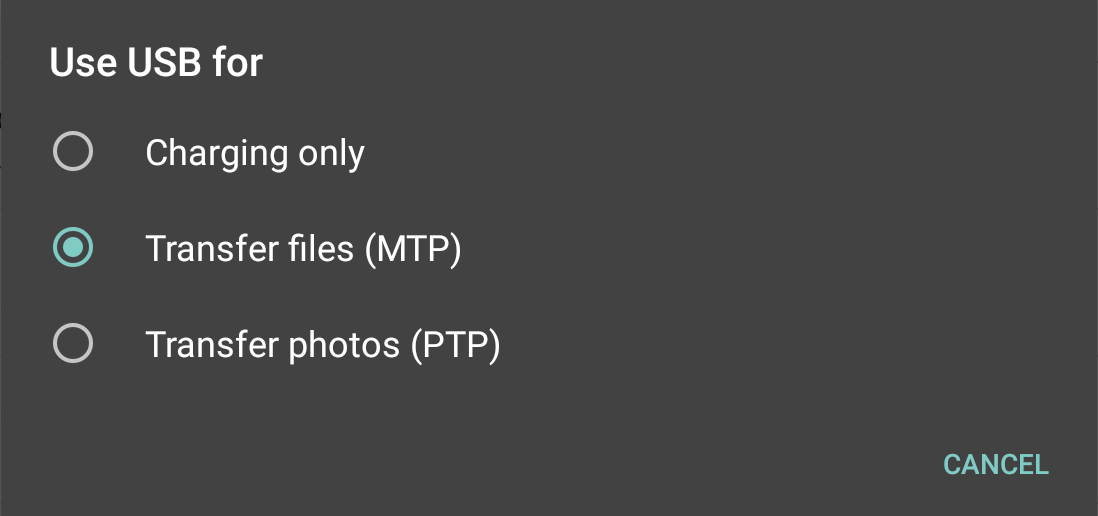
10 - You should see your Tablet as a USB flash drive from your computer, take your Photon remote installer (.APK) and transfer it to the download folder of your Tablet
11 - Go back on your tablet and open ES File Explorer application
12 - Navigate to Download folder (Local > Download) fron the right side panel
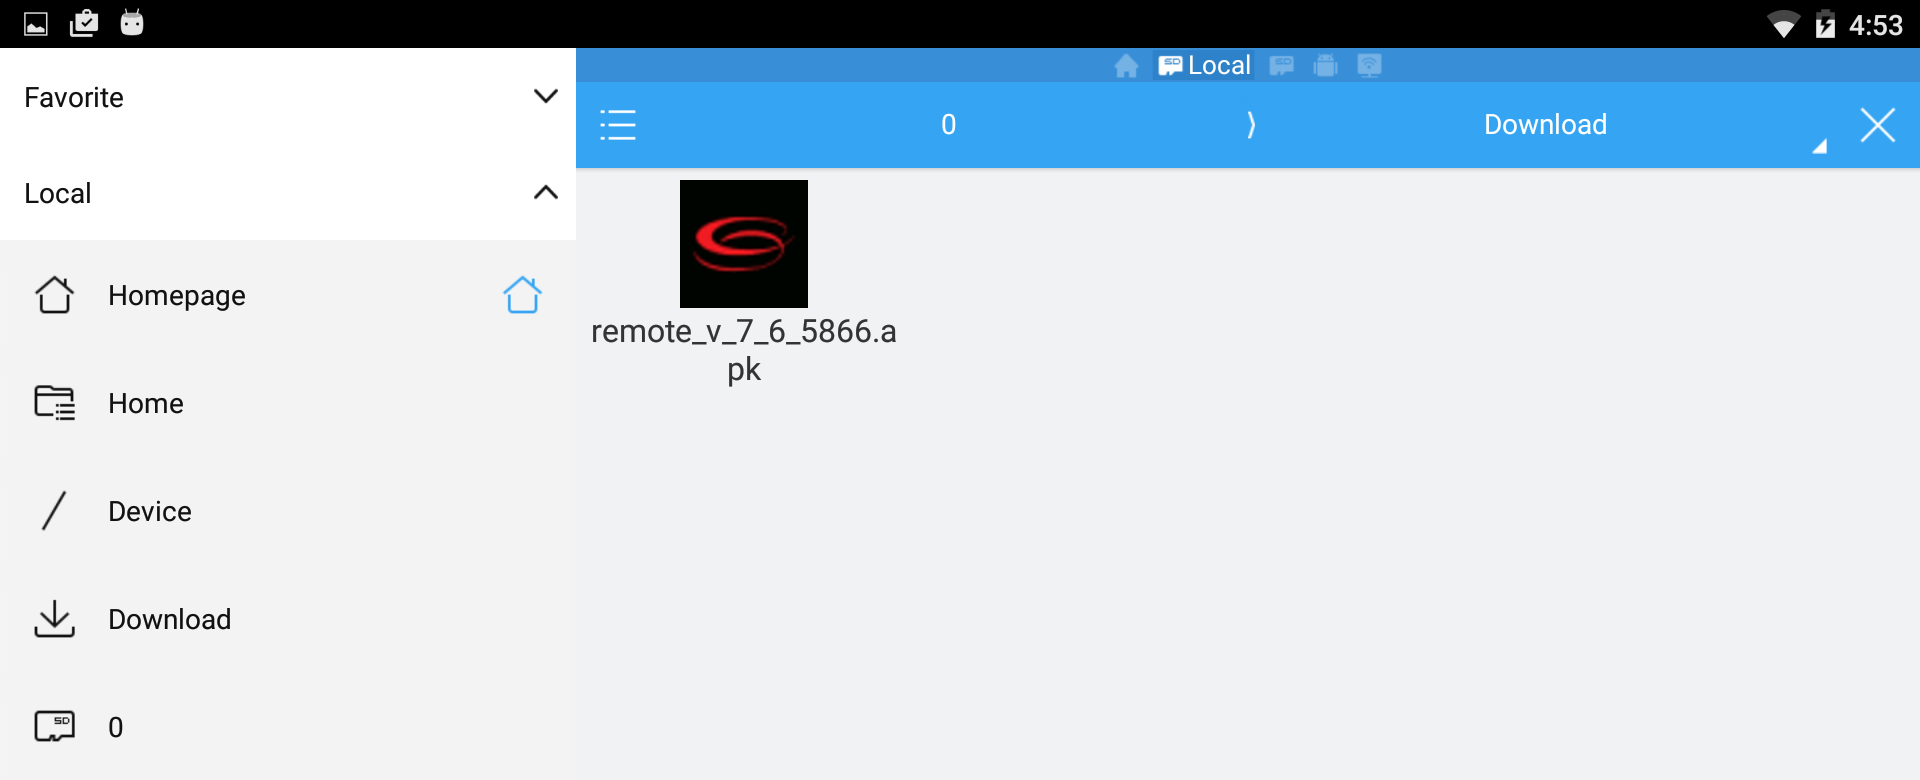
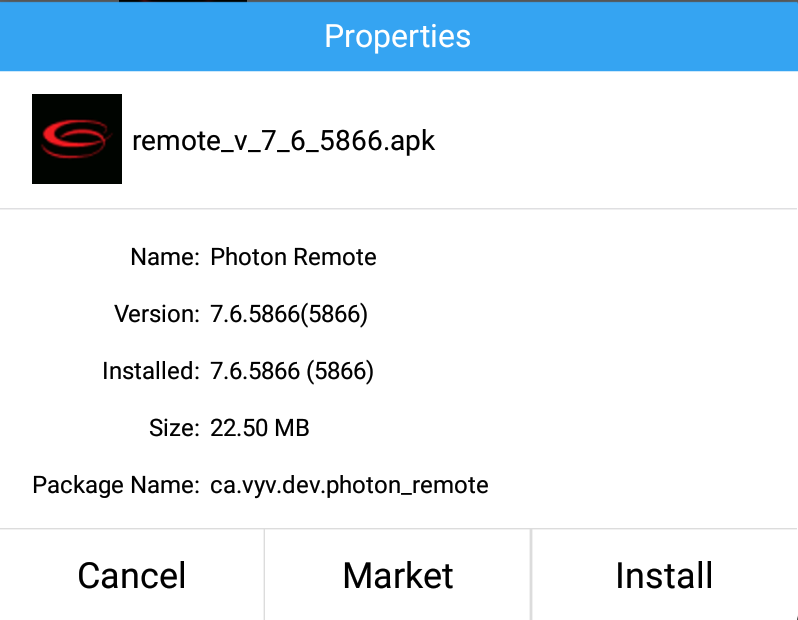
13 - Select your Photon remote installer and click on Install
14 - Launch Photon Remote Application